[INTRODUCTION] [WEATHERVANE] [INDIVIDUAL] [GILDING] [LECTURES] [ENROLLMENT] [APPLICATION]
This course caters to the individual who desires to learn about the ancient art of weathervanes. It is suitable for various levels of experience from teen to retired and beginner to experienced blacksmith.
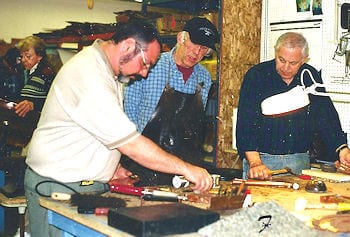
My approach is unique and rewarding. During your session, you will create the most ubiquitous of weathervanes, the Weathercock. The rooster I have planned encompasses several methods of hammering and soldering and is designed to allow execution within the workshop’s three days. The completed weathercock is yours and becomes your incentive and reference for the future. If taken in succession, the Gilding Weathervanes Workshop will teach you how to gild your own weathervane the following day. The course actually begins with the application. Participants are asked to submit photos with examples of their current art or weathervane work. Please furnish a short description of why you want to take the course, what you hope to achieve, and what may be your plans for the future. This information will allow us both to focus on specific requirements.
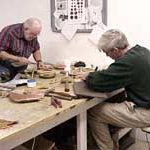
Although our weathervane subject is predetermined, the workshop begins with instruction on subject research, creating a sketch, and developing the drawing into an aesthetically pleasing workable weathervane design. It is here that the important concepts of problem-solving and correct design basics are learned. Throughout the course, I will intertwine hands-on instruction with lecture and technical information so a notebook is recommended.
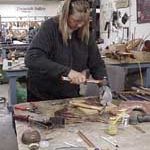
 Copper is a wonderfully malleable metal, and as we work I will cover my techniques for cutting, chasing, and repousse as well as lecture on methods of other artists past and present. Emphasis will be on creating body, form, and texture. Both the novice and experienced metal smith will benefit from my streamlined methods. Throughout the workshop, I will instruct and encourage you on the importance of developing your own style and techniques. Instruction on soldering by iron and torch will allow you to assemble the parts you’ve created. We will work together through the mornings and you will use this instruction on your own in the afternoons as you progressively complete your weathervane. The last day will cover detailing, and patina finishes. Then you will mount your completed weathercock on an assembly (included) and view it as an intact weathervane for the first time.
If you would like to read up on what goes into crafting a weathervane using David’s techniques, please click here.
At the end of each course, I will furnish a completion certificate, related articles and information, supplier lists, and a review of the course.


