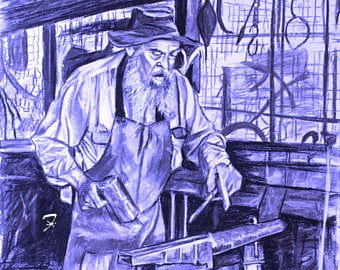
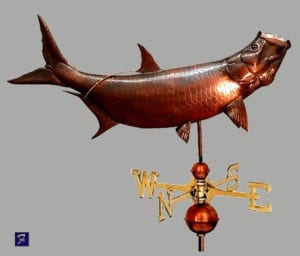
I derive my ability to create fine copper weathervanes from great teachers such as David Tinkham, Travis Tuck, and my mentor Richard Bernier, though over the years I have developed my own style. I am recognized for my ability to capture a subject’s character and spirit through skillful hand sculpting, as well as my unique use of accents. For example, I embellish several of my weathervanes with 23 karat Gold Leaf, Lead & Tin, and realistic glass eyes to highlight a subject’s features. Because these highlights do not corrode or fade, they remain a prevalent part of the design for years to come.
Since the Weathervane is viewed from a distance, its design requires an emphasis on the details, therefore I enhance certain design characteristics such as profile, facial detail, and contour lines. I draw my designs on letter-size paper, scan them into my computer to archive them, then have them plotted full size. The pattern is transferred to a copper sheet. Using snips, I cut hand cut the design from sheet copper. One piece of copper is cut and detailed for each side of the profile.
I visualize the finished part before I begin sculpting. Certain details are “chased” into the face of the design and then puffed out from the inside by repousse (hammering the sheet copper) using different hammers, surfaces, and special shaping tools that I fashion myself. The chasing and repousse techniques in weathervane making are borrowed from goldsmiths, silversmiths, copper smiths, and the noble blacksmith, who have been familiar with it for centuries. These processes produce relief with a richly sculptured surface. I stretch the copper into the subject’s shape by hammering it against different surfaces such as wood, rubber, or even a stack of newspapers. Then, beating the copper against a hard surface, such as steel or granite, smoothes the hammer marks. Once the sides have the desired shape, I hammer a soldering flange along the outline of the design. The two sides of the weathervane, thus fashioned, are matched and soldered together to make a single, hollow figure. The joints are sanded and buffed smooth. A bearing is soldered into the spindle tube and the tube is inserted into the figure about 2/3 of the distance from the back (top) of the design so that its weight and wind resistance will allow it to pivot into the oncoming wind.
At this point, I form and attach other parts like ears and wings in the same way as necessary. Once the figure is complete, I clean the piece and attach the eyes, if applicable. I often bring my weathervanes to life with realistic glass eyes that are created for taxidermy. These detail-accurate, hand-fired, and colored glass eyes are an art form unto themselves. Last, I apply gold leaf, verdigris, or bronze patina. Finally, I place the completed figure on a post in my studio so as to be viewed for the first time.
The fine craftsmanship of hand-sculpting quality weathervanes has not diminished in two millennia. Essentially the same basic principles of proportion, balance, and artistic integrity still apply as does the respect for sound materials and honest craftsmanship.
-
- To see some weathervanes being built, visit my Projects Section.
-
- Weathervane crafting techniques are as varied as their subjects. This page describes some of my personal techniques. For more information on other techniques and styles, please read the article “Selecting A Weathervane“.
-
- Visit the Finishes page for more information on the variety and their details.
-
- Bio and Portfolio – Weathervanes by David Ferro
-
- If you would like to learn how to make your own weathervanes, please click to learn more about my Weathervane Workshops.
-
- Discover more about Weathervanes in the Reading List.
-
- For more information visit your local library.


